We're still in summer mode here, though for K. today is the last day of his summer vacation, unfortunately. This year's summer vacation has been very relaxing - Carpe Diem (seize the day) has been our motto. We've been doing plenty of things but only because we wanted to. And today I really wanted to do something crafty! So I did. It took me a while before I came up with something, though. I made a big mess as I kept pulling things out. But then eventually pieces fell into place when I found a wire clothes hanger (check out this article if you'd like to find out more about the origin of the wire clothes hanger - the drawings are great!).
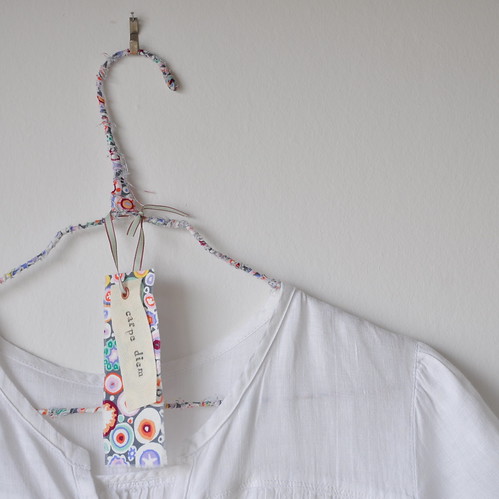
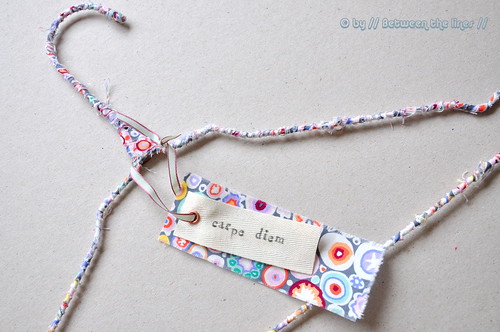
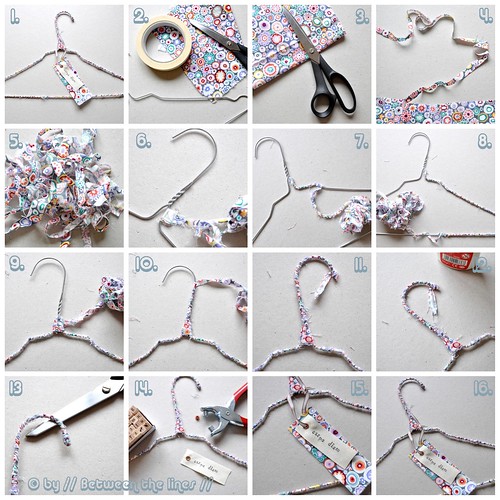
The result of my crafty afternoon is this enhanced, colorful wire clothes hanger... with a short description in 16 photographs. Again, it's an easy craft you could have your kids do or help you with on a rainy afternoon.
What you'll need:
- wire coat hanger (the ones you get at the dry cleaner's)
- bias tape, ribbon, or a piece of fabric
- a piece of (masking) tape
- white glue
- optional: ribbon, rivet punch + rivets
Steps:
1. If you don't have ribbon or bias tape at hand, make your own (pic. 4 & 5) by cutting a long strip from a piece of fabric. Don't bother about cutting in bias, we want the ribbon to fray! Yes, fray! Although I had only a small piece of fabric, I cut one long strip from it. This is how: start cutting a strip lengthwise from one side to the other, BUT WITHOUT CUTTING THROUGH TO THE VERY END! Repeat, alternating sides as shown in the diagram below.

2. Attach the ribbon to the wire coat hanger as shown in pic. 6 and wind the ribbon around a couple of times to hide the tape.
3. Next, start twisting the ribbon around the wire all the way around. Don't be afraid of the fabric fraying - we like the effect! To make sure the ribbon is everywhere tightly twisted around the wire, check once in a while and twist the ribbon between your fingers as you work your way back to where you stopped.
4. At the bottom of the hook twist the ribbon around both wires and work your way up the hook (pic. 9 & 10).
5. Cut off the ribbon leaving a 1 inch end. Put on some white glue and next continue twisting the ribbon, smearing the glue in and over the fabric and such way that the tip is completely covered and there are no loose ends left (pic. 11-13).
6. Optional: Decorate with a tag. I used stamps for this and the motto of our summer "Carpe diem". Make one for every family member and have their names on it, or if you plan for a summer party make one for every guest. The possibilities obviously are endless. Use the rivet punch to attach a rivet and tie to the hanger with a piece of ribbon. All done!