The mild temperatures of the last couple of days got me all energized and in an early Spring mood. This was especially true at the beginning of the week when we had a lovely sun on top. I have been cleaning out closets, laundering sheets and blankets, doing lots of ironing, ... and a couple of early Spring crafts, one of which even resulted in this tutorial - the first one of 2011!
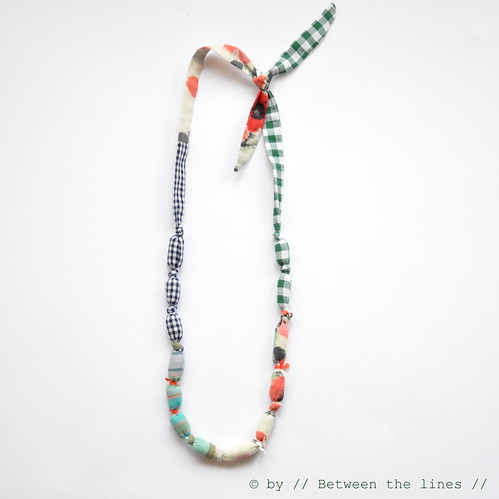
So, yesterday when my hands were itching to make something I came up with this very simple, whimsical fabric sausage necklace. I got the idea for this necklace while shopping at COS, one of my new favorite stores - and as it turns out this store might become a favorite of K. too. He found himself a couple of really nice things there last week, but this is totally besides today's topic. The necklaces I saw were at the kids' section and simply lovely - but for kids, in size, I mean. In the woman's section they had similar ones made out of leather - very stylish, very simple, simply l o v e l y!
I decided to give the fabric ones a try. I'll be honest - it takes a bit of patience to get the wool (or poly-fiber fill) down the tube but I think it is totally worth the effort. You won't need a lot of fabric, this is yet another craft you could use fabric scraps for. Since I have something with gingham lately, I combined two different gingham fabrics, a Japanese flower print and some stripes. You can go totally crazy combining different colors and prints, or keep it really simple and use only one color. Instead of knotting in between "beads", I combined knots and colorful ribbon ties. You might also use embroidery floss in between beads.
You'll need:
- a couple of fabric strips of different length but same width - I used 4cm wide strips - enough to total (at least) 1m50
- matching thread, sewing machine
- chopstick
- wool roving or fiber fill ( I recommend using wool roving here as it's easier to manipulate down the tube and you'll probably need less to form a firm bead - trust me, I've tried both!)
- optional: narrow ribbon, embroidery floss
Instructions:
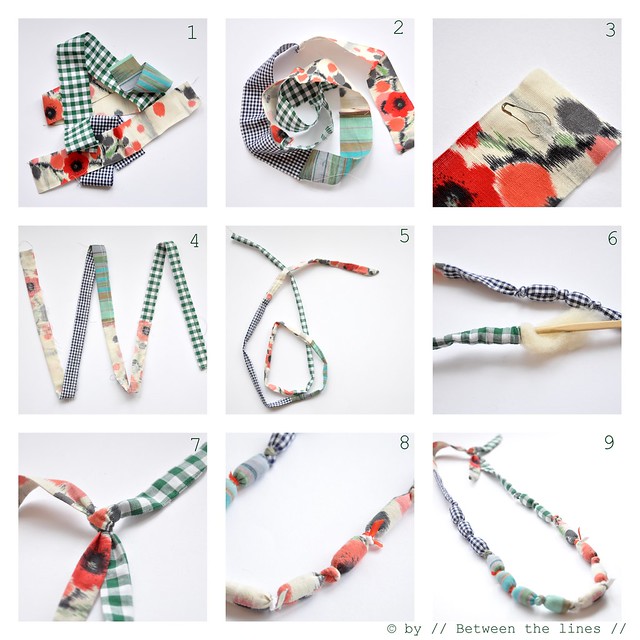
1. Sew fabric strips together to make one long strip (pic.2).
2. Attach a safety pin near top on the right side of the fabric - you'll need it for turning the fabric (pic.3).
3. Fold strip in half lengthwise and sew side-seam ( the safety pin will be on the inside), leaving an opening at the bottom (pic.4).
Note: depending on the length and width you chose you may find it easier to leave an additional opening somewhere halfway the sideseam - this will save you time while stuffing the fabric tube.
4. Turn the tube you obtained inside out by pushing the safety pin all the way down the fabric tube (pic.6). Shape the tube.
5. Using small pieces of wool roving at a time, make the beads, by pushing the filling through the tube with a chopstick (No need to form the beads before you stuff them inside - the chopstick will do that for you). Tie a knot before and after each bead or use ribbon, embroidery floss to the same effect (pic.8).
6. Close the remaining opening(s) with a whip stitch. Shape and pull and finally tie a knot - Done!
Isn't it lovely!? Pair it up with a simple T-shirt, tank top (I'm thinking Summer here) or a simple white shirt...
Please note, this tutorial is intended for personal use only. Therefore, do not reproduce, sell or commercialize in any form. Thanks for understanding!
If you made something using a tutorial found on this blog or if you got inspired by something you found here, make sure to post your pictures here.

