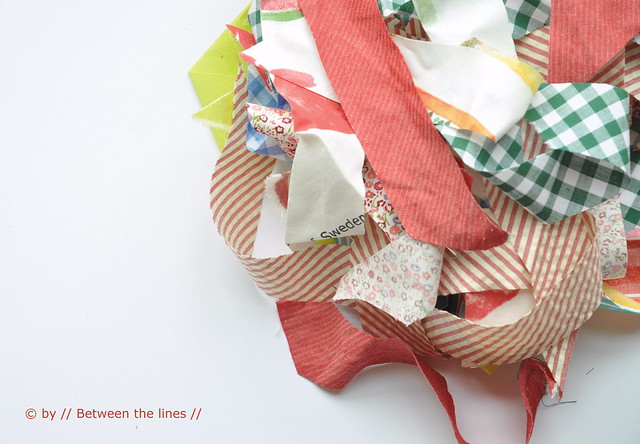
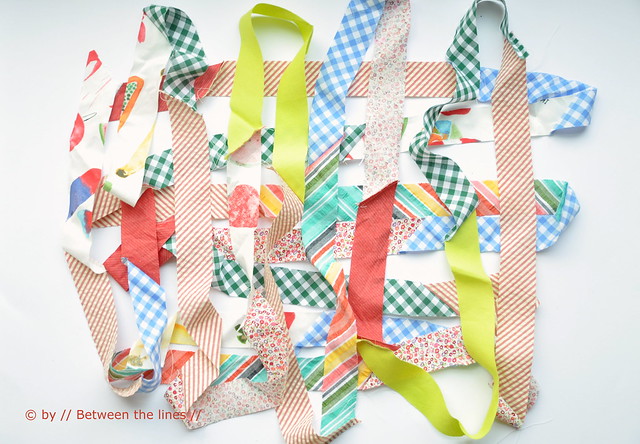
As I was cleaning out my crafts closet, one of the things I came across was tons and tons of fabric scraps. Such a pity to throw them out, but putting them in just another bag isn't a solution really, as soon I'll have more scrap bags than anything else in my closet. Instead, I decided to somehow 'structure' the mess - by making some bias tape. A nice opportunity to test the new bias tape maker I got last week.
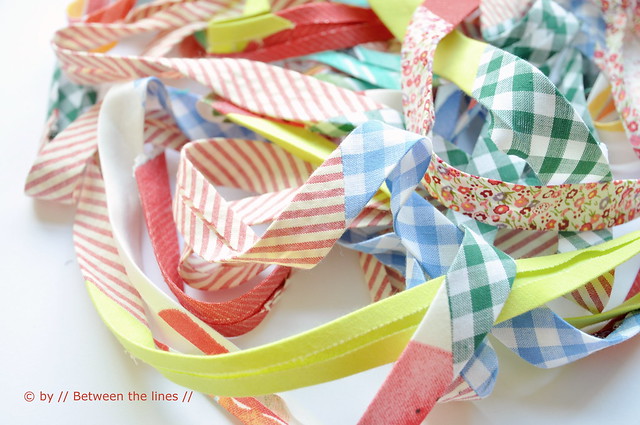
It took me no more than an hour from beginning to end. The result is a roll of - what? - six or seven yards of the most colorful and unique bias tape.
I have no idea yet what I'll use it for - a bag most likely or for binding a small quilt - but for now just looking at it makes me feel happy as every little piece of it reminds me of something else I made over the past year.
The crafts closet still looks like a mess but at least I made some good use of (a tiny bit of) my fabric scraps!
Interested in giving this a try?
You'll need:
- fabric scraps, preferably of same weight
- rotary cutter, ruler, cutting mat
- sewing machine
- iron and ironing board
- bias tape maker (don't bother about the fusing tape mentioned on the package - it works perfectly well without)
Note: As I was looking up 'bias tape maker' I came across this tutorial which shows how to do it without a store bought bias tape maker. Clever!
1. Cut your scraps on the bias in strips of 3.5 cm (or any other width to your liking/ corresponding to your bias tape maker) - I used 3.5cm as this is what my bias maker likes - this will result in 1.8cm wide bias tape.
2. Joining the pieces: Once you have enough scraps, take everything to the sewing machine. Place two pieces, right sides facing, perpendicularly onto each other and stitch at a 45° angle. (Here are some very clear instructions as to how exactly to do this.) Make sure to have right sides facing, to avoid seams ending up at the front of your tape!
3. When you're finished take everything to the ironing board. Press all seams open and trim any excess fabric and loose ends if you haven't done so already.
4. Now feed your bias tape through the bias tape maker and iron as you go. Do this from beginning to end while trying not to burn your fingers.
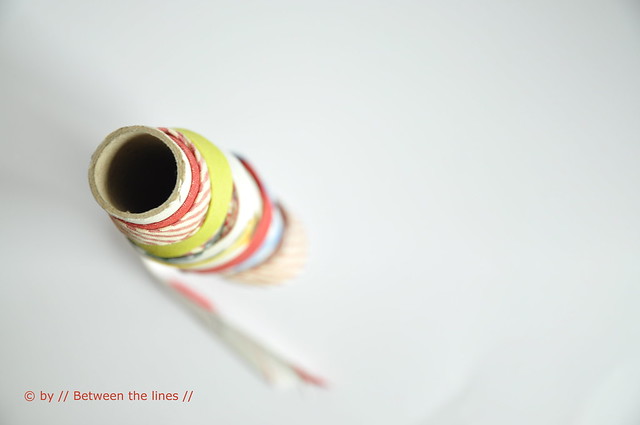
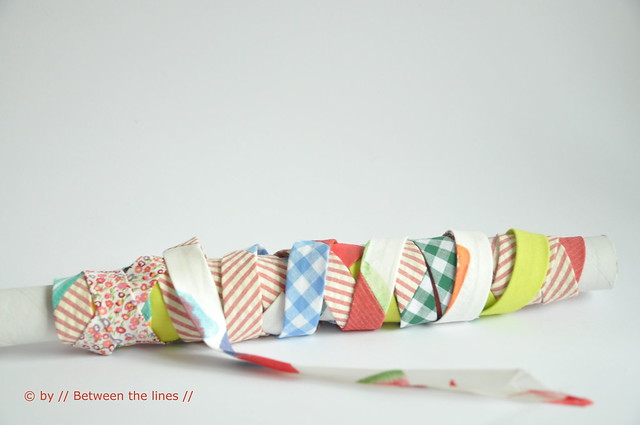
5. Roll the bias tape onto a piece of cardboard, a tube or something similar. And ready!