September 28, 2012

Animal Key Chain :: DIY

Animal Key Chain :: DIY


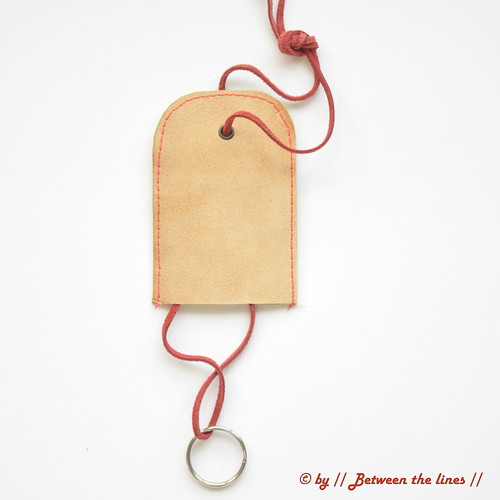
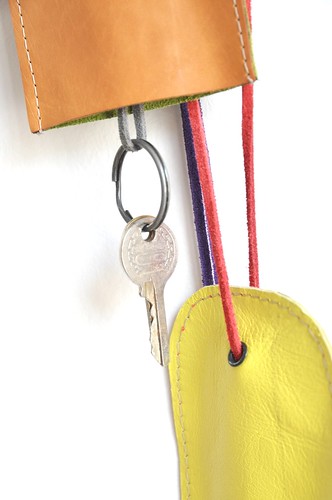
Last week, while I was working on the leather key holder, I had an aha-moment. On top of one of H's birthday presents, last summer, sat a cute 3D card stock bear head/tag. Because I thought it was so cute I rescued the little bear from the recycling bin and it'd been sitting on my desk ever since. Until last week, that is.

Animal Key Chain :: DIY

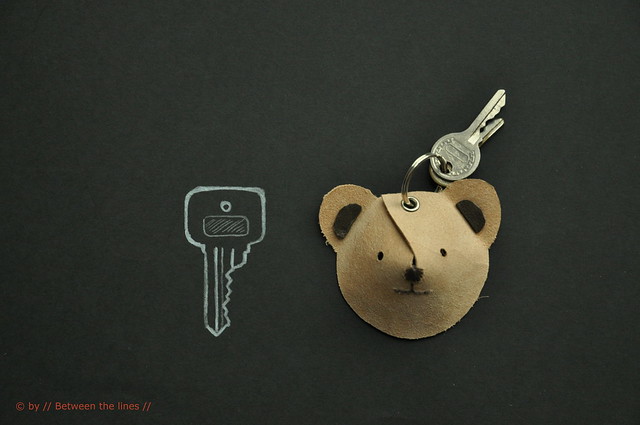
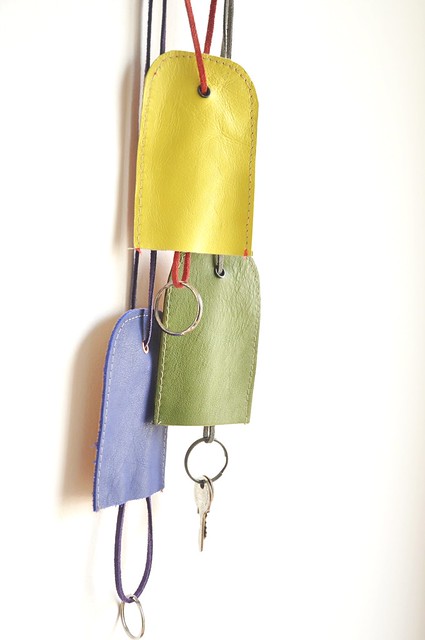
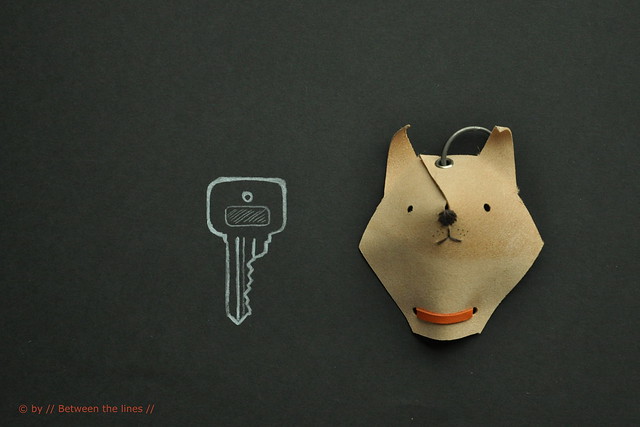
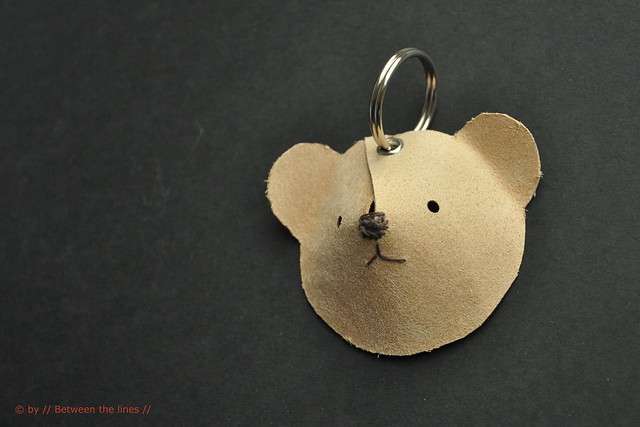
All of a sudden, I new what I wanted to do with it - make a replica in leather and use it to hang on a key chain. And that's exactly what I did. I tweaked the design here and there and even came up with a little fellow critter. So easy to make and according to my girls very cute (do I need to tell the little critters have been claimed already ?).

Animal Key Chain :: DIY

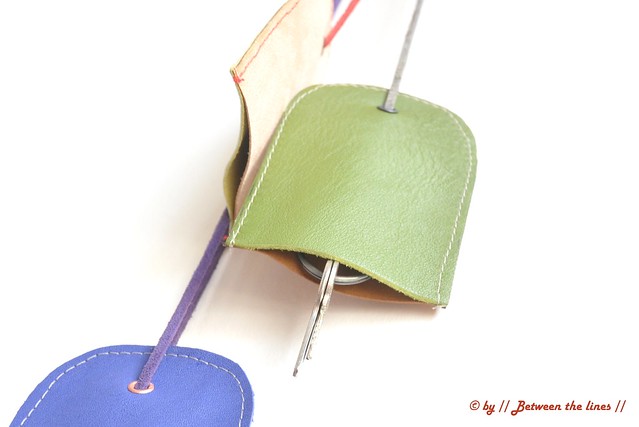
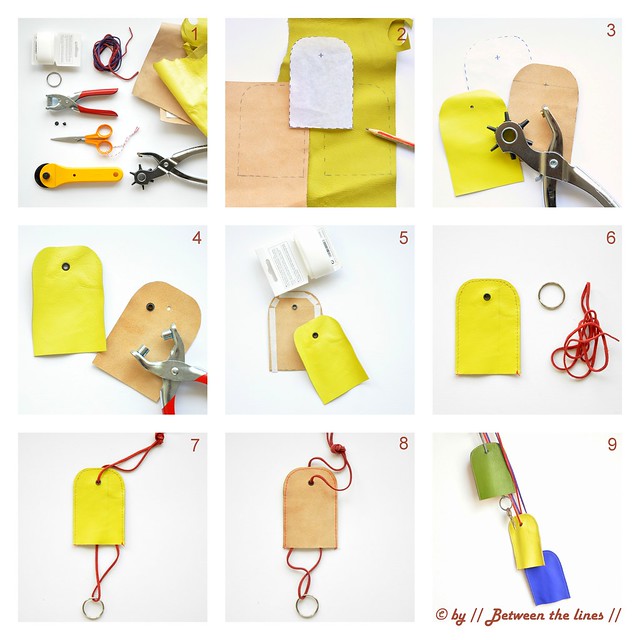
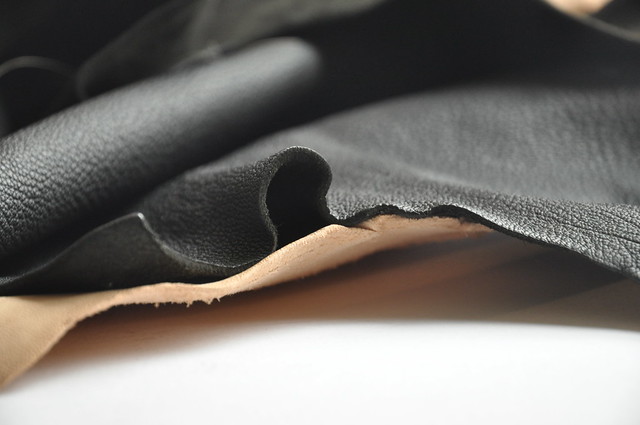
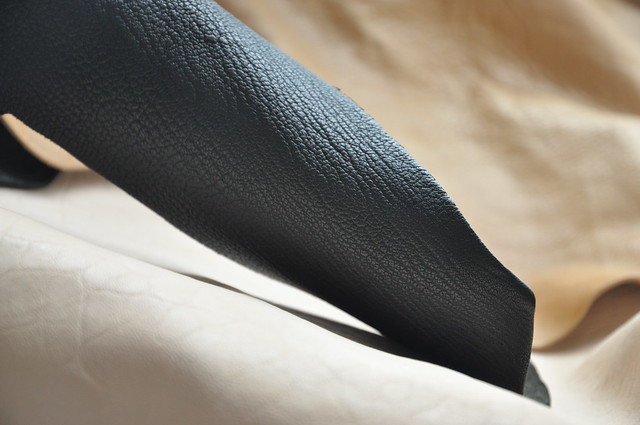
Use sturdy leather for this project (I used low grade but rather stiff leather for mine). Besides leather, you will also need a (leather) needle and thread, an eyelet and eyelet setter, and a key ring. Skip the sewing and have your little ones decorate their bear or dog head with markers, if you like. Punch a couple of holes for the eyes. To keep everything together and give the head its 3D shape, slam an eyelet through the top as shown in the template, attach a king ring and you're done.

 Animal Key Chain :: DIY

Wouldn't these make cute party favors? Or how about making a whole bunch of them to decorate your Christmas tree. And if you're good at drawing (which I'm not), try making different animal heads. If you do so, feel free to post them in my Flickr group - I'd love to see which animals you come up with!

Note: if you can't find leather, try using other materials like vinyl, or foam sheets, heavy weight felt, ... as long the material used has a certain stiffness this should work!

September 23, 2012

Leather key chain holder :: a tutorial

Leather key chain holder :: tutorial


 Leather key chain holder :: tutorial

Quite some time ago, I got M. a cute leather key chain. The design was very simple. What made it special was the combination of materials: leather and rubber, and the color: tomato red. I immediately regretted I only bought one and of course when I went back they were all gone. A good reason to try to make something similar myself. It took me a while before I found the time, but this week I finally got to it. I made several in different colors and color combinations. Since they're really easy to make, I decided to share this project with a short how-totutorial. It's a perfect beginner's project for sewing leather on the machine.


Leather key chain holder :: tutorial


Here's what you need:

- small pieces of leather (or faux leather or any other material which doesn't fray)
- (leather) shoe lace, ribbon, ...
- key ring
- 2 metal eyelets + setting tool
- hole punch
- adhesive hemming tape or vliesofix
- rotary cutter, scissors, cutting mat
- sewing machine, equipped with a special leather sewing needle
- iron

Leather key chain holder :: tutorial

Instructions:

1. Print and cut out the template, which you can download here.
Note: the precise dimensions are given on the template. Make sure the scale of the print-out corresponds to the measurements given, before cutting leather.
2. Trace template on the back of the leather and cut (x2).
3. Punch holes in each piece according to template.
4. Set eyelets.
5. Cut small strips of hemming tape and iron onto one of the two cut pieces. The hemming tape will keep the pieces into place while sewing. Remove paper strips. Position the second piece on top of the first one - make sure to align precisely and iron into place. Next stitch the two layers together, about 0.5cm from the edge. Trim edges if necessary.
Note: (i) if you work with leather pieces of different thickness, iron the tape onto the thickest quality.
 (ii) ironing leather: test on a piece of scrap first or use a cloth to protect leather from the heat of the iron.
6. Thread shoelace through the eyelets while slipping on ring. Attach keys and done!

Optional: you can add a closure at the bottom, if you like (snap closure, button, ...).

Note: From the comments and messages I received, I realize I should have explained how to use this key holder. The design is such that you can wear it around the neck - the keys don't show as the leather pouch covers them. To get to the keys, just slip the leather cover up while still wearing or take off and give the holder a shake so the keys come down... I hope this helps!

Leather key chain holder :: tutorial

As with all of my tutorials, please note, this tutorial is intended for personal use only. Thanks for understanding! 

If you made something using a tutorial found on this blog or if you got inspired by something you found here, make sure to post your pictures here.

September 17, 2012

Leather and other thoughts

Leather stash Leather stash


People who have been following // Between the lines // over the years, know I like to work with leather and have integrated it into many of my crafts. It started with small pieces of leather found here and there but over time, as I gained confidence (or so I thought), I also started buying bigger pieces, and by bigger I mean real stretches of cow hides and pig skins and whatever animal skins.
This has resulted in a stash that gets more and more difficult to store or to 'hide' (oh, this is so lame!).
Once in awhile, I'll take out my stash just to look at it and feel it, smell it, but also to think about all the wonderful things I could make from it. And there's the problem. The possibilities are endless and so is my inspiration (have you seen my pin board on Pinterest, yet?), but once a specific project has been decided upon and started, there's no way back. Once you start cutting, you literally cut off the other options.  I don't like the idea of wasting my precious stash, however. That explains why I have leather but no finished projects. I just can't make up my mind. I'm stuck.

A lot of things in life are like that. No doubt there are more important decisions than which bag to make.
Choosing means giving up alternatives or other options, but also moving ahead, getting rid of what weighs you down.
Choosing somehow sets free.

Let's try to remember that...


Leather stash

Leather stash

Leather stash


September 13, 2012

Work in progress :: seed stitch cowl

Work in progress :: seed stitch cowl

I started knitting on a seed stitch cowl during our camping trip (which was absolutely great, by the way).
It's the simplest knitting project thinkable.
Purl, knit, purl.
A no-brainer.

September 12, 2012

Note to one self :: apple cinnamon cake


Apple cinnamon cake

Made this cake yesterday. I used our basic cake recipe, cinnamon sugar and two crumpled and sad looking apples and threw things together in a mixing bowl. Everyone loved it. So, I had to write down the recipe... For next time when we end up with crumpled apples.  


Cinnamon Apple mixture  

1/4 cup of white sugar 
2 tsp cinnamon 

2 apples, peeled and cored and cut into small cubes


1. Combine sugar and cinnamon in a bowl.
2. In a bowl, add 2 tsp of the cinnamon sugar mix to the apple cubes. Mix with a spoon to make sure all apples are coated.
3. Reserve the rest of the cinnamon sugar for later.  


Cake recipe:  

125 g butter, room temperature 
150g sugar 
2 eggs, room temperature 

250g flour, combined with 2 tsp baking powder (i.e. 1 sachet de levure chimique, when you're in France) 
and a pinch of salt 

2 tbsp of yoghurt

1. In a mixing bowl, mix butter and sugar until white and fluffy.
2. Add eggs to mixture and mix until well combined.
3. Next, mix in flour and mix until well combined.
4. Mix in yoghurt.
5. Stir in apple cinnamon mixture.
 6. Pour cake mixture in a round cake mold, coated with butter and flour. You could also use a round piece of parchment paper on the bottom.
7. Generously sprinkle cinnamon sugar over batter before inserting in the oven.
8. Bake for 30-40 minutes or until toothpick inserted comes out clean in a 180°C oven.
9. Let cool on a rack.

Whatever's left of the cinnamon sugar mix, I keep in a little jar with lid. The girls love this on their toast in the mornings (not sure if the dentist would approve, though...).

Enjoy!

September 2, 2012

A long relaxing summer

 summer crafts
Necklace: leather cord with resin beads, finished with two sliding knots - all supplies from De Banier.


We're back from a long relaxing summer. It wasn't a very crafty one but a fun one for sure.
Two more days to get back in school modus.
Waking up early will be toughest part we now know already...
Hope you had a nice summer too!

Cheers,


xo, P.