
For this project you'll need:
- scraps of fabric - I've used two different ones for the outside (linen) and inside (cotton)
- 4cm of ribbon or twill tape
- scissors, thread, needle, pins, sewing machine,...
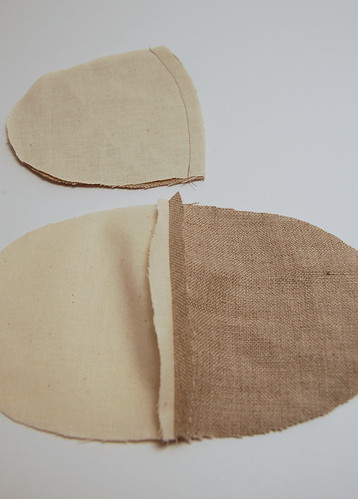
Step 1: Print pattern (when you click on the image it will/should open in another window) - when I tried this on my printer, I had to print at 50% to obtain the correct dimensions which are 12cm in height and 13cm in width, measured at the base - I suggest you check first (with an egg if you like) before you start cutting. The pattern takes into account seam allowances already. Cut the pattern from your fabric - twice for both lining and outer fabric.

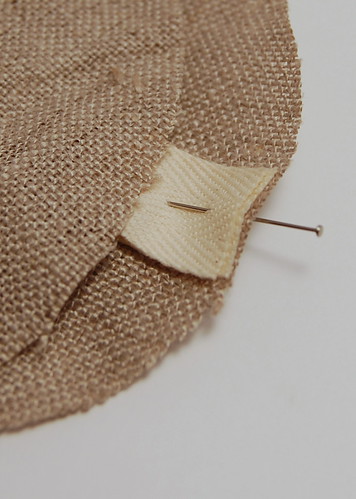
Step 2: Sewing - Pair up one piece of outer fabric with one piece of lining, twice. Place the two pieces on top of each other and sew together at the base about 5mm from the edge. Fold open and flatten the seams a little on both pieces. Now, put the two pieces obtained on top of each other - making sure you have lining on top of lining and outer fabric on top of outer fabric - right sides together. When doing so, sandwich your piece of ribbon in between the two outer fabric layers, squeezing the "loop" inside at the top.
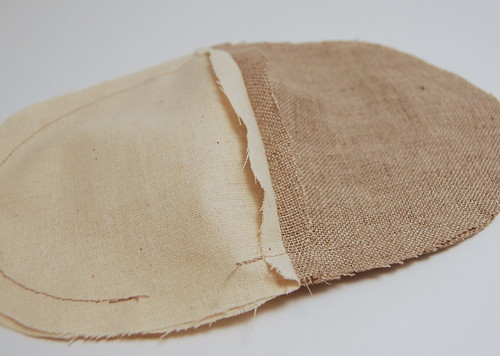
Next, sew the two pieces together 7mm from the edge, leaving a small opening in the lining for turning inside out the egg warmer.
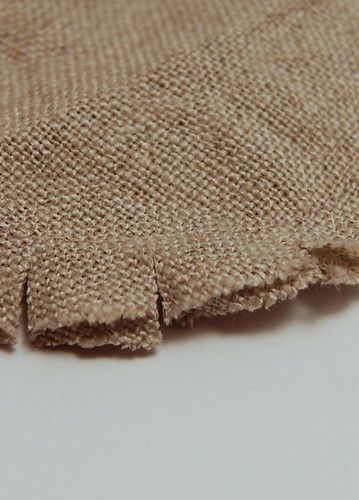
Make small cuts around the curved edges, perpendicularly to the seam.
Turn the egg warmer inside out through the opening. Whipstitch the opening closed.
And ready!
Step 3 - optional: Decorate the egg warmer. I've used some iron-transfer (make sure to print in mirror if you use text!). But you could use stamps to decorate, embroidery (better do this before sewing everything together), or you could just use colorful fabric for your outer fabric...
Et voilà, an egg warmer!
Please note, this tutorials is intended for personal use only. Therefore, do not reproduce, sell or commercialize in any form without permission. Thanks for understanding!

