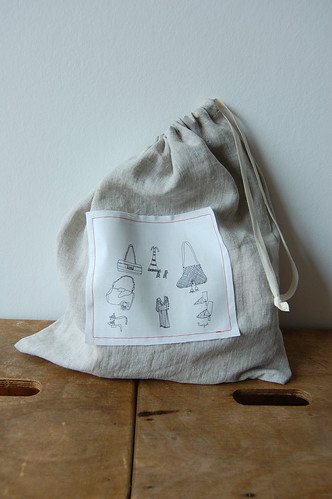
Here's a short tutorial for the drawstring bags I showed you here, on Friday.
If you know a little bit of sewing, then I'm sure you know how to make a drawstring bag. Don't stop reading yet, however, as I want to show you how you can use the "French seam" to finish off the bag neatly on the inside. I used this technique primarily as I didn't want to line the bags - something you might want to consider if you want the fabric to be able to breathe like for linen bags or laundry bags. Yet, I wanted the bags to look "clean" on the inside. As I have a very basic sewing machine, with a not so great zigzag stitch for finishing seams, I prefer this method. And even with a decent zigzag stitch, the fabric still might start fraying (especially linen) when the bag is heavily used.
Therefore: the French seam! I hope you're still reading!
For one drawstring bag you'll need:
- a rectangular piece of fabric, I used a 70cmx45cm piece of oatmeal colored linen ( this roughly gives you a 32cm x39cm bag), seam allowances included (7cm at the top - i.e. at the longest side of the fabric before folding, 1cm at the bottom and 1.5cm on each side at the shorter end of the fabric). You can adjust the dimensions for a different size of bag but keep in mind to add the same seam allowances.
- optional: if you plan on adding an iron-transferred picture the way I did, you'll also need, according to the size of the image, a smaller piece of fabric, in my case white cotton, an image and iron-on-transfer paper.
- twill tape, in length about three times the width of your finished bag (in my case about one meter)
- pin needles, safety pin, thread and a sewing machine.
1. Optional: iron-on-transfer your image (don't forget to mirror before printing); I used a drawing from one of my girls as we made two of these bags as birthday present for two of her friends. Once cooled down and paper removed, position the image on your bag piece of fabric, pin down, and sew about 5mm from the edge - you can use a contrasting color to add some detail.
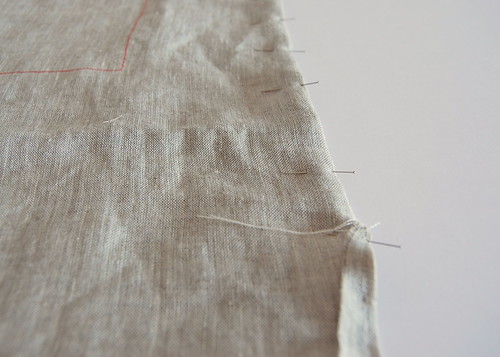
2. Fold the fabric in two (width-wise) and pin the side and bottom seams, the right (!) side of the fabric facing up.

3. About 7cm from the top (which we leave open for the drawstring tunnel later), start sewing the side and bottom seam, about 7mm from the side.

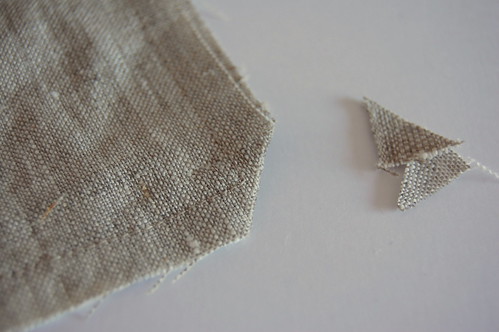
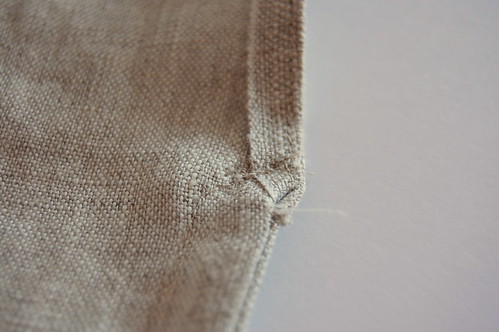
4. Clip the bottom corner
5. Pin each of the two top side seams (the ones you left open for the drawstring tunnel) inward when the right side is facing - as to finish of/secure the entrance of the drawstring tunnel
6. Now, sew the top side seams as close as possible to the side, all the way down to where your side seam (step 3) starts (7cm)
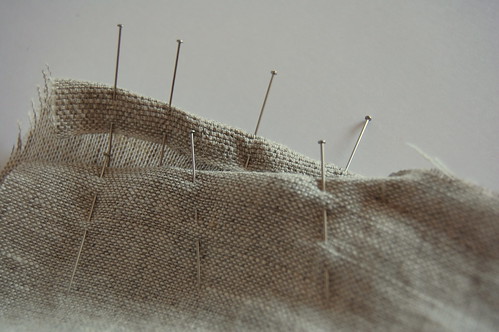
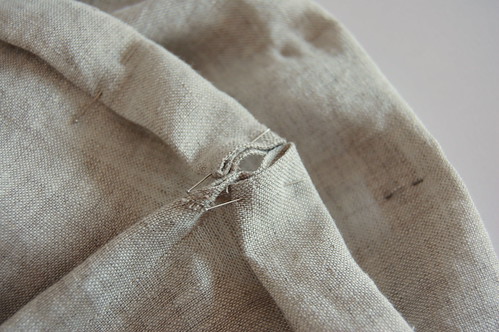
7. Now, here comes the "French" part: Turn the bag inside out and again pin the side and bottom seams - the previously sewn seams nicely tucked inside.
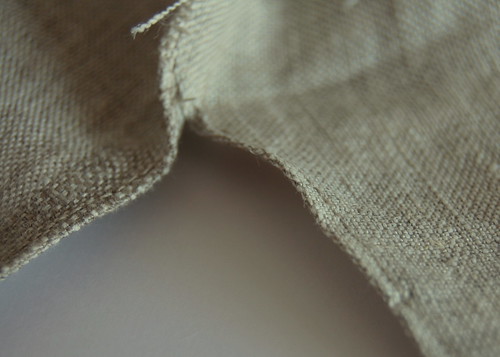
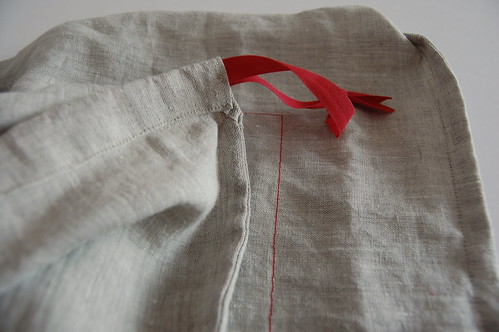
8. Starting at the top, sew the side and bottom seams 1cm away from the side - this to make sure the previous seam is tucked nicely inside and to prevent fabric peeking out on the good side. If you didn't get this right from the first time, don't worry, just stitch another row next to it but a little further from the side, this time. Important: in order to have a nice finishing at the top (tunnel entrance) as well make a slight corner as shown in the picture.
This is all there is to a French seam! No fraying fabric is showing on either side of the bag!! We're almost done with the bag!
9. Pin the drawstring tunnel as shown in the picture and sew as close as possible to the bottom of folded-in side.
10. Insert twill tape using a safety pin - tie a knot and DONE!

11. The inside of the bag should look like this:
There are many other uses for this French seam. I've used it to get a really sturdy seam on a pouch sling. I've also used this method on the side seams of a light weight cotton skirt, again because I didn't want any ugly zigzag or fraying fabric to show... Just keep in mind to double your seam allowance when doing so!
Good luck! I hope this explanation is sort of clear! If not, please, let me know!!
Please note, this tutorials is intended for personal use only. Therefore, do not reproduce, sell or commercialize in any form without permission. Thanks for understanding!

