Believe it or not, but it's only recently that I discovered Vliesofix also known as bondaweb, fusible webbing that sticks on two sides. Also recently, I bought Kasja Wikman's book Scandinavian Stitches. Inspired by the wonderful projects in the book I had to find Vliesofix right away. I was lucky to find some at the mercerie around the corner. The same evening I whipped together a Christmas themed drawstring bag, which didn't make it to the blog because it's simply not me. The girls think it's cute, but I'm not sure I like it.
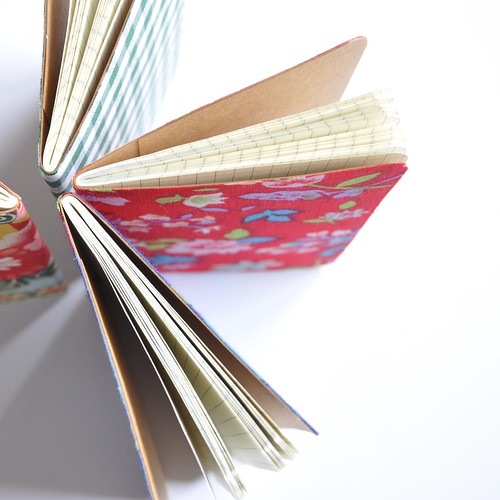
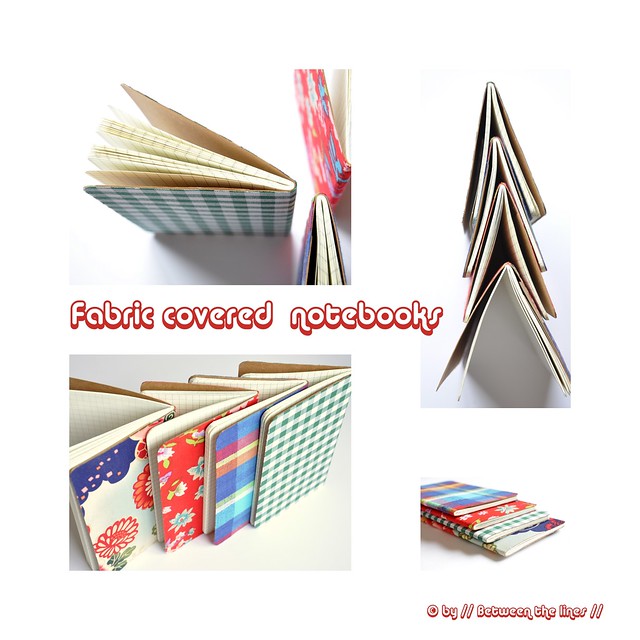
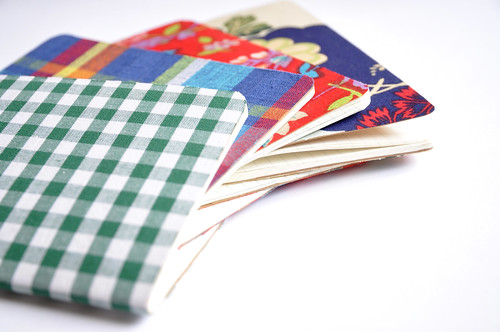
Anyway, a couple of days after making the bag I saw the most wonderful (and also pricey) fabric covered envelopes at a store here in Paris. Seeing this was immediately followed by another one of my aha-moments which made me rush home. To make a long story short - I had plenty Vliesofix left. I also happened to have a couple of Moleskine notebooks. That combined with pieces of leftover fabric and you have fabric-covered notebooks! I finished them in no time and I think they look totally cute. The possibilities are of course endless. Make a couple in assorted colors and you have a nice teacher's gift, stocking stuffer, or just to keep them in your purse...
Here's a short description of how to make them. I didn't have time to make step-by-step photographs, but I believe it is kind of straightforward. So, here we go:
What you need:
- fabric, big enough to cover a notebook
- Vliesofix
- notebook (Moleskines are great for this)
- good sewing scissors, pencil, ruler
- iron
Instructions:
1. Cut a piece of Vliesofix slightly bigger than the notebook you want to cover
2. Iron the Vliesofix onto the wrong side of your fabric, paper side up. Cut fabric to size, along the outlines of the Vliesofix.
3. Peel off paper and place on top of your notebook. If your fabric has a pattern make sure to align perfectly - once the fabric sticks, it sticks! With your iron, press to fuse the fabric onto the cover. Let cool down a bit. Check if it sticks really well everywhere.
4. With small sewing scissors trim the excess fabric around the edges... and done!
Now, don't you think they look awesome!?
If you're into Moleskines also check out this post, from last year!
Please note, this tutorial is intended for personal use only. Therefore, do not reproduce, sell or commercialize in any form. Thanks for understanding!
If you made something using a tutorial found on this blog or if you got inspired by something you found here, make sure to post your pictures here.

