I love minimalism, as I truly believe less is more.
I have always loved geometry.
I love figuring out how things are built.
Lately I have been drawn into building shapes, going from something flat to something three dimensional and functional with the least steps involved. The teddy bear key chain is one example.
So, when I came across this fabulous basket and DIY on Pinterest, I couldn't get to my craft's table fast enough. In no time, I made a bunch of leather mini baskets based on the same principle, but instead of using a hexagon I made use of squares. And leather - what else!?
This is an easy and fast craft, which requires minimal supplies:
a (small) piece of leather, a hole punch, rivets and rivet setter, a cutting tool, and a ruler and pencil.
Now if you don't have access to leather, try using heavy weight felt as in the original tutorial, or use foam sheets. Or with the holidays just ahead of us why not try making some baskets out of nice and heavy card stock, replacing the rivets with eyelets or brads. These baskets would make perfect packaging for those homemade cookies.
Before you get started and especially when using precious materials like leather, I recommend making a paper version first, just to make sure you got the dimensions right.
I made two sizes of baskets:
- a 15 cm square results in a 7 x 7 x 4 cm basket
- a 10 cm square results in a 5 x 5 x 2,5 cm basket
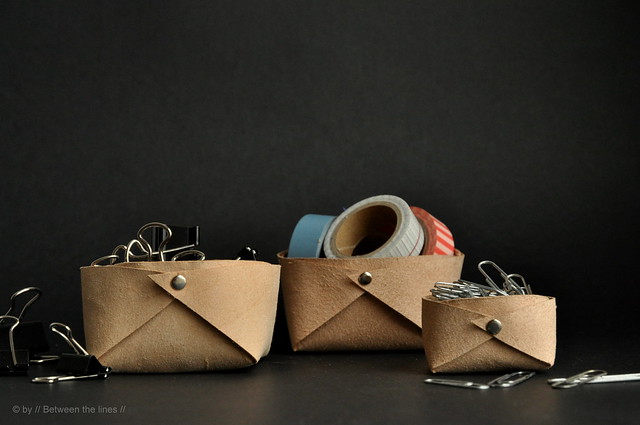
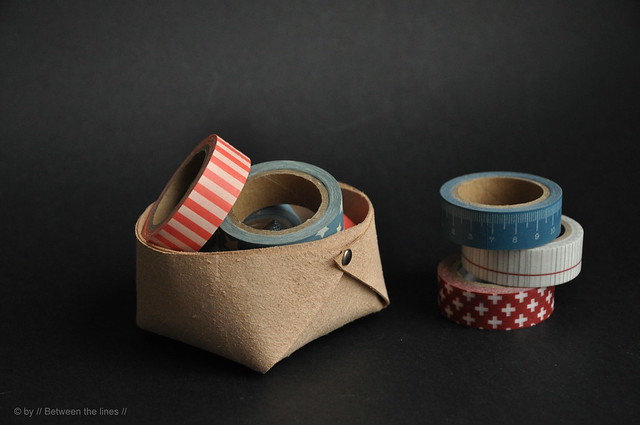
To give you a rough idea: one of the larger baskets is holding (part of my) washi tape collection and the other one a bunch of large paper clips. The small one holds quite an amount of small paperclips.
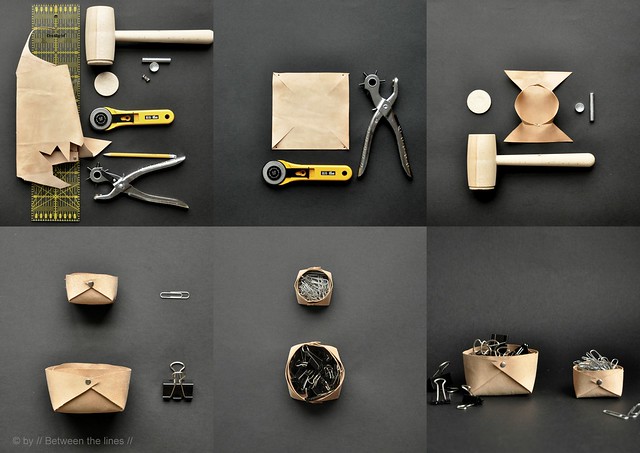
Instructions:
1. Make a paper template or download the template here.
2. Cut the leather and make the diagonal incisions as shown (for a 15 cm square, cut 6cm diagonals; for a 10cm square this would be 4cm diagonals)
3. Punch 4 holes as shown in the picture and template.
4. Set rivets (I found the table corner to be very useful for this, but make sure to protect your table appropriately). Shape your basket by inserting the two remaining flaps.


