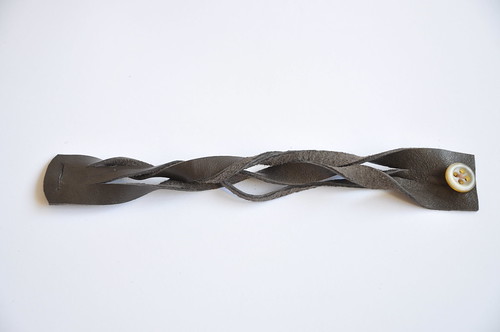
I mentioned it yesterday, that I actually had time for two crafts while the girls were playing. So, here's number two - a quick fix leather bracelet. And while I was at it I wrote down some instructions for this quick fix.
Leather and leather jewelry seem to be everywhere lately, but that's not where I got my inspiration exclusively. While I was going through my reader, I came across these absolutely gorgeous booties (with free pattern - found through CraftGossip). Too bad my girls are too big for these now. The part I like best about these booties is the strap with button. They remind me of the strap and button on my wedding shoes... Well and the rest you can see here...

You'll need:
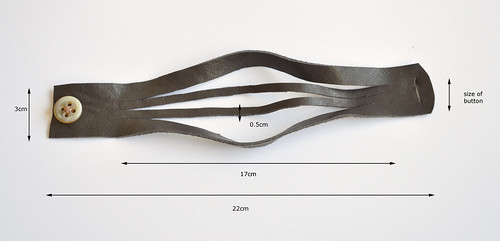
- a piece of leather; mine measured 22 by 3cm, for a loose fit. Measure your wrist and adjust accordingly, taking into account whether you prefer a loose or tight fit as well.
- a button
- scissors or a rotary cutter (I should get me one of those...)
- (heavy duty) thread
- a leather sewing needle
- pen and ruler
Instructions:
Use the template below. Mark the cutting lines on the back with a pen. I made three incisions length wise, 0.5cm apart, and about 17cm long. And one small vertical incision, the size of the button, for the button hole. To make sure the button passes, rather than making the button hole longer (and hence too long to hold the button still), cut a small "v" at each end of the incision.
Sew on the button.
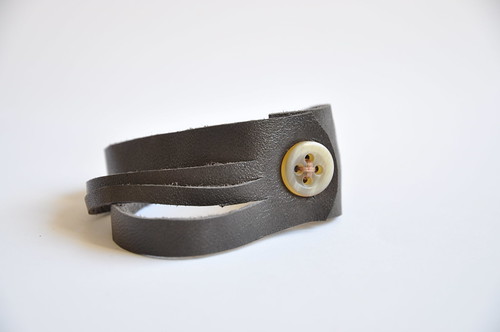
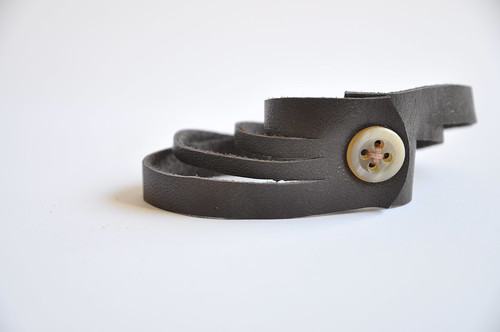
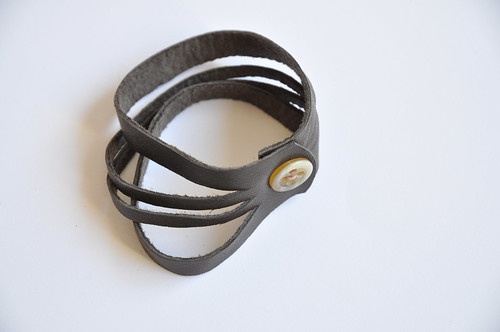
To get the twisted look, pull one end of the bracelet through the incisions a couple of times, while holding on to the other end. There's no order or limit in doing so, just play around with it until you get a nice twist and are satisfied with the way it looks...
I'm definitely satisfied with how mine looks, and I can totally picture myself wearing this bracelet with a simple white outfit, a nice leather belt, cute strapped sandals, on a bright sunny day...
Oh, why can't spring just begin and then summer would be next...
