January 5, 2011

Work in progress

knit knit
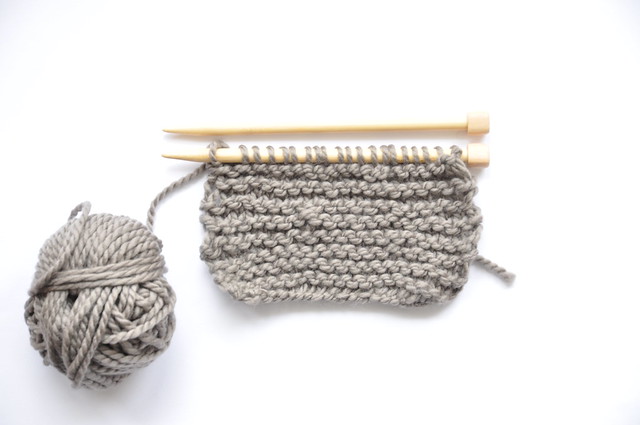
Little H's knit work in progress...

I didn't start the year with  resolutions - except for maybe one: stop procrastinating.  
What needs to be done, needs to be done, so why not do it now!
So that's why the last couple of days I've been working hard on getting things done. Administrative stuff mainly, like paying bills, answering long over-due e-mails, ordering catalogs for summer camps for the girls, making an appointment with the garage to have our car fixed which got broken into over the Christmas weekend (fun!),  catching up with laundry (where does it keep coming from - sometimes it feels like I have 5 kids running around instead of just 2...).
All this while fighting off the first migraine of the year...

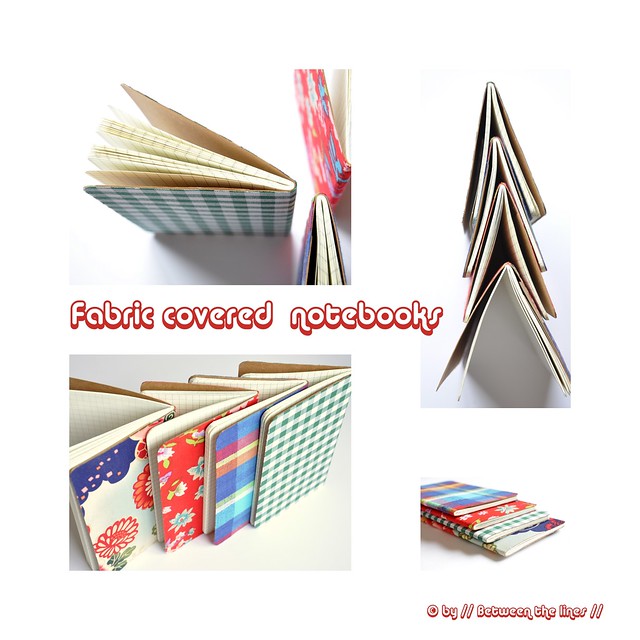
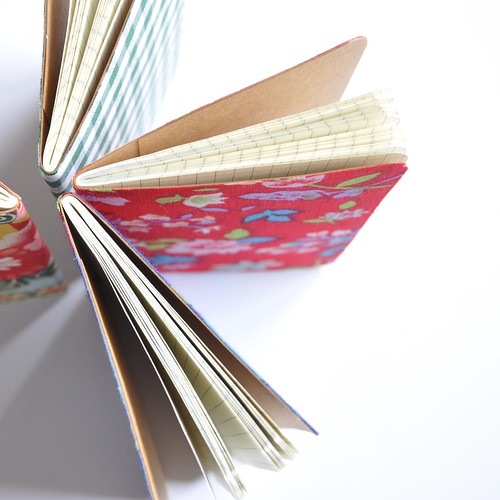
But in between I did find time for a small craft or two. Variations on the fabric covered Moleskine notebooks. If all goes well they may end up in my Etsy shop, as I want to revive it now that all except for this has gone (Besides on notebooks, I plan on having new bags as well!) .
Wait a minute - Does that make two New Year's resolutions?
And how about three: a stress free life and having more fun?!

What are your resolutions for 2011?

January 1, 2011

// Happy 2011 //

// Happy 2011 //


We're still recovering from not enough sleep and too much magret de canard with this homemade chutney.
The fortune cookies we made were fun and the chocolate chip cookies served with vanilla ice cream yummy as always. We were in good company and had fun at playing the Wii and Pictionary.
We made it to the Eiffel Tower in time for the count down and fire works, and left almost immediately after the countdown because of some idiots firing off their own crackers and scaring off the kids. Seeing the Eiffel Tower light up and hearing the crowd cheer was magic, though!

We're ready for a new beginning and hope you are too!
Wishing you a happy and creative 2011!

xo, Pascale
 

December 22, 2010

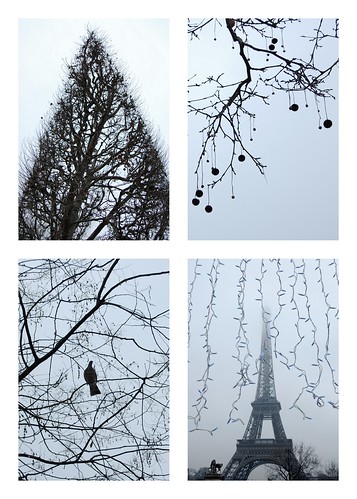
Wishing you...

eiffel in de mist3


I'm taking a short blogbreak.
I'll be back here soon and I hope you'll be too!
Take care!

xo, P.

December 21, 2010

More cookies and flannel sleepwear...

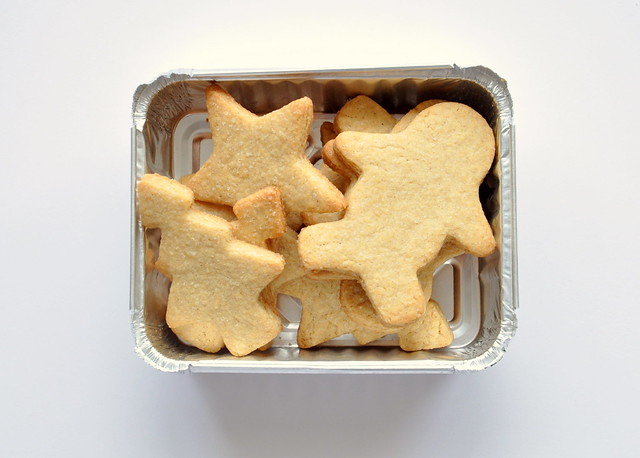
X-mas cookies

...that was in a nut shell my weekend. And there was fresh snow too!

I can't remember the last time I wore flannel sleepwear. The last flannel PJ's I can remember, are the PJ's I bought for at that time still little M.. They had little duckies on them and she wore them all winter. She posed in them under the Christmas tree at my parents'. It was right before our big move to California. M. was 18 months old and recovering from a double ear infection. And there was snow too then. M.'s first snow ever. She would look at it falling down through the kitchen window of my parents' apartment. She can't remember, but I can - she had to stand on her tippy toes in order to see. Little H. wore the flannel ducky PJ's too, later on, in California - no snow - until she too outgrew them. I can't remember what happened to them after but I do remember both of my girls looked adorable in them...

So, when I was looking for our Christmas ornaments (yes, we did get a tree - an even smaller one than last year) and I came across a bag with among other things a big piece of checkered flannel in it, I knew right away what I wanted to make out of it. Flannel sleepwear - for me this time! I found a pattern in an old Burda I still had laying around, altered it slightly and fixed it in an afternoon. Nothing special, not even pretty but warm and cozy - bringing back those memories!

And then we baked cookies and they too brought back memories. The idea was to bake speculoos. I found a recipe, the spices - the only thing I didn't have was the dark brown sugar. The label said the box contained cassonade, but it was still too blond to make real speculoos which is supposed to be really dark. But never mind - the cookies turned out really good. They actually taste like the Trader Joe's Alphabet Cookies and Animal cookies we used to buy! In case you want to give it a try: You can find the recipe here - I added a second egg and combined 1/2 teaspoon of pain d'épices spices with 1/2 teaspoon of ground cinnamon to obtain 1 teaspoon of mixed ground cake spices, and I added 1 teaspoon of vanilla, just because we like it. We planned on taking some cookies with us to Belgium for the holidays, but I'm not sure they'll last that long as we've been munching cookies all day!

December 17, 2010

DIY Gift Ideas # 5:: Fabric covered notebooks...

DIY Gift Idea #5 :: Fabric covered notebook


Believe it or not, but it's only recently that I discovered Vliesofix also known as bondaweb, fusible webbing that sticks on two sides. Also recently, I bought Kasja Wikman's book Scandinavian Stitches. Inspired by the wonderful projects in the book I had to find Vliesofix right away. I was lucky to find some at the mercerie around the corner. The same evening I whipped together a Christmas themed drawstring bag, which didn't make it to the blog because it's simply not me. The girls think it's cute, but I'm not sure I like it.

DIY Gift Idea #5 :: Fabric covered notebook


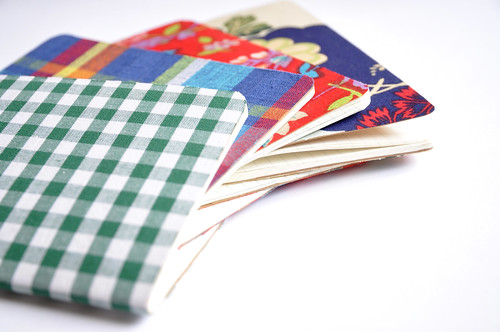
Anyway, a couple of days after making the bag I saw the most wonderful (and also pricey) fabric covered envelopes at a store here in Paris. Seeing this was immediately followed by another one of my aha-moments which made me rush home. To make a long story short - I had plenty Vliesofix left. I also happened to have a couple of Moleskine notebooks. That combined with pieces of leftover fabric and you have fabric-covered notebooks! I finished them in no time and I think they look totally cute. The possibilities are of course endless. Make a couple in assorted colors and you have a nice teacher's gift, stocking stuffer, or just to keep them in your purse...
Here's a short description of how to make them. I didn't have time to make step-by-step photographs, but I believe it is kind of straightforward. So, here we go:

What you need:

- fabric, big enough to cover a notebook
- Vliesofix
- notebook (Moleskines are great for this)
- good sewing scissors, pencil, ruler
- iron

Instructions:

1. Cut a piece of Vliesofix slightly bigger than the notebook you want to cover
2. Iron the Vliesofix onto the wrong side of your fabric, paper side up. Cut fabric to size, along the outlines of the Vliesofix.
3. Peel off paper and place on top of your notebook. If your fabric has a pattern make sure to align perfectly - once the fabric sticks, it sticks! With your iron, press to fuse the fabric onto the cover. Let cool down a bit. Check if it sticks really well everywhere.
4. With small sewing scissors trim the excess fabric around the edges... and done!

Now, don't you think they look awesome!?

If you're into Moleskines also check out this post, from last year!

DIY Gift Idea #5 :: Fabric covered notebook


Please note, this tutorial is intended for personal use only. Therefore, do not reproduce, sell or commercialize in any form. Thanks for understanding!


If you made something using a tutorial found on this blog or if you got inspired by something you found here, make sure to post your pictures here.

December 13, 2010

Yummy! :: Cranberry-Pistachio Biscotti

biscotti

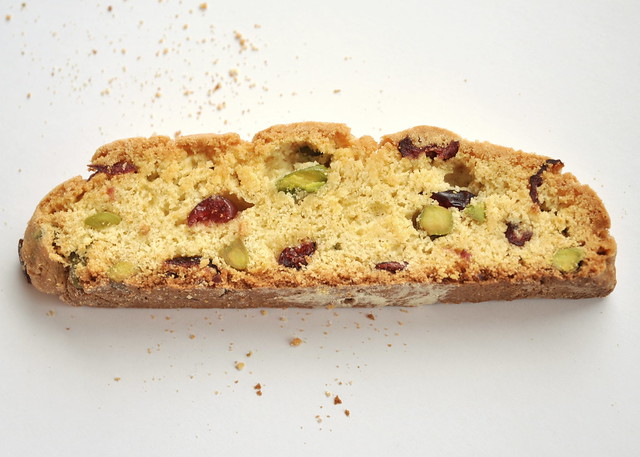
The holiday season or maybe winter in general, traditionally is baking season. One of our home made favorites are these cranberry-pistachio biscotti (biscotti literally means baked twice). Even K. who doesn't have a sweet tooth at all or doesn't even care about desert, can't resist these. They have a nice nutty flavor to which the cranberries add the right amount of tang. I made a batch late Friday night and they didn't last through the weekend! The recipe is adapted from a Martha Stewart recipe.


ingredients (makes about 20):

2 1/2 cups all-purpose flour
1/2 teaspoon baking powder (levure chimique)
1/2 teaspoon coarse salt
6 Tbsp unsalted butter, room temperature
1 cup cane sugar
2 large eggs
2 teaspoons pure vanilla extract
1 cup dried cranberries
1 cup pistachios, peeled


  1. Preheat oven to 350° F/ 175-180°C.
  2. In a pan roast the pistachios until golden or slightly brown. Set aside.
  3. Whisk together flour, baking powder and salt and set aside.
  4. Put flour butter in a bowl and mix on medium speed until smooth. Add sugar and mix until pale and fluffy. Mix in vanilla and eggs, 1 at a time, until well combined. Add flour mixture at once and mix until well combined. Add cranberries and pistachios and mix with a fork until well combined.
  5. Transfer dough to baking sheet lined with parchment paper and dusted with flour. Pat into a long flat log. Dust hands with flour if too sticky. Bake until firm, golden brown and cracked on top and an inserted toothpick comes out clean, about 30 minutes. Let cool on a wire rack, about 20 minutes.
  6. Transfer to a cutting board and cut 1/2 inch thick slices using a serrated knife. Arrange slices onto a baking sheet lined with parchment paper and bake cookies until brown at edges, about 12-15 minutes. Let cool on a wire rack. Bon appétit!

December 9, 2010

DIY Gift Ideas # 4 :: Whimsical Pillows...

Whimsical pillows :: a tutorial

The week hasn't exactly been going as planned but things seem to have calmed down now. I hope.  I didn't forget about the promise I made earlier this week - the only problem was finding half an hour to get my act together (and half an hour of good light as well). And I did today!

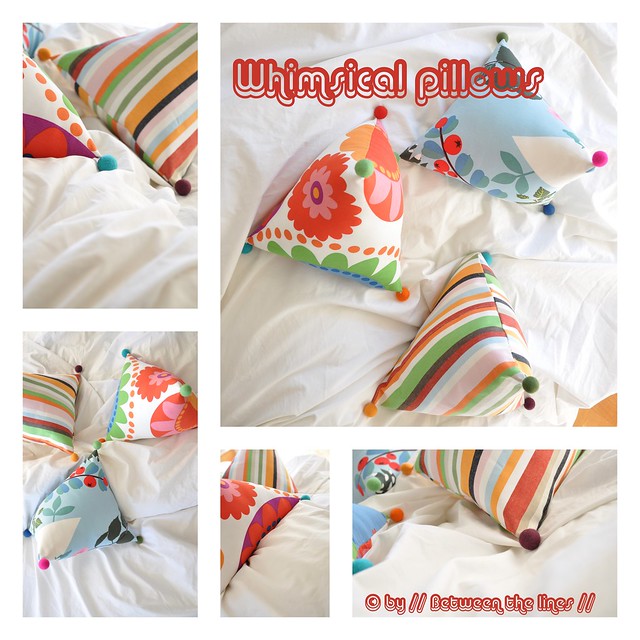
So, here's our most fantastic pillow ever! My girls' very favorite (and mine as well) totally whimsical triangular shaped pillow (this is actually the simpler version of a pillow I made a little while back but which didn't make it to the blog yet, somehow). It's absolutely fun to make and more importantly, it's absolutely easy to make. A perfect beginner's sewing craft. As a matter of fact we each made one. Little H. made the blue with mountain scenery one, big girl M. made the flowered one and I did the striped one. All three fabrics are from IKEA. The felt balls I still had here at home (no, Michelle, we didn't make them, though given all the roving I still have I might give it a try!). So, if you're still looking for a fun handmade present or for something to keep the kids busy during the holidays, keep on reading! All it takes is three seams and some stuffing!

What you'll need: 


- fabric: a 32cm x  64cm piece of heavy cotton, denim, canvas,... (seam allowance included)
- 4 felt beads in assorting colors - pompoms would be nice too, by the way!
- poly-fiber fill to stuff the pillow
- sewing machine
- needle and thread
- scissors

Note: you can make the bigger or smaller, just make sure that the long side of the rectangle is twice the short side in length.
Whimsical pillows :: a tutorial

Instructions:

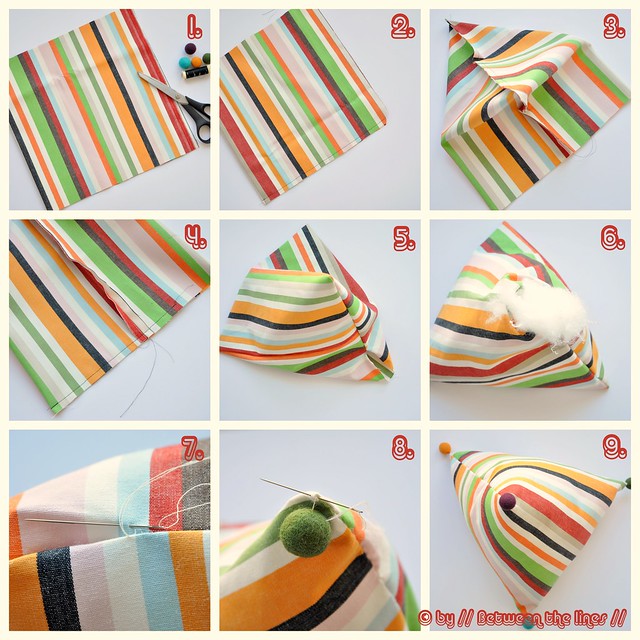
1. Fold the rectangle in half, right sides facing. Close two of the three open sides using a 1cm seam allowance and clip the corner as shown in picture 2.
2. Open up the remaining side and fold as shown in picture 3., i.e. fold the pillow cover such that the seam from step 2, ends up exactly in the middle of the remaining open side (so you will have 15cm of fabric on either side of the seam from step2). Pin and close that side, leaving an opening big enough for turning and stuffing (picture 4.).
3. Turn the cover inside out and shape (corners!). You'll get something that looks as shown in picture 5.
4. Stuff your pillow with the fiber fill to your liking, making sure the stuffing gets well distributed (picture 6).
5. Close the gap with a couple of stitches (picture 7).
6. Sew on the felt beads, one at every tip of the pillow (picture 8). And that's all there is to it (picture 9)!

Make sure to make enough of these for a pillow fight!!
 

Please note, this tutorial is intended for personal use only. Therefore, do not reproduce, sell or commercialize in any form.  Thanks for understanding!

If you made something using a tutorial found on this blog or if you got inspired by something you found here, make sure to post your pictures here.
Related Posts with Thumbnails